

Hair Crimper for Shag Haircut 2026: Modern Texture
Written by Emily Chen · Updated August 19, 2026 · 8 min read
In This Guide
- Why the Shag Haircut Works With Crimping
- Match the Crimper to the Layer
- 5-Step Crimping Routine for Shag Hair
- Temperature by Hair Type
- FIFN Crimper Comparison
- Do's and Don'ts
- 5 Pro Tips
- Frequently Asked Questions
Why the Shag Haircut Works With Crimping
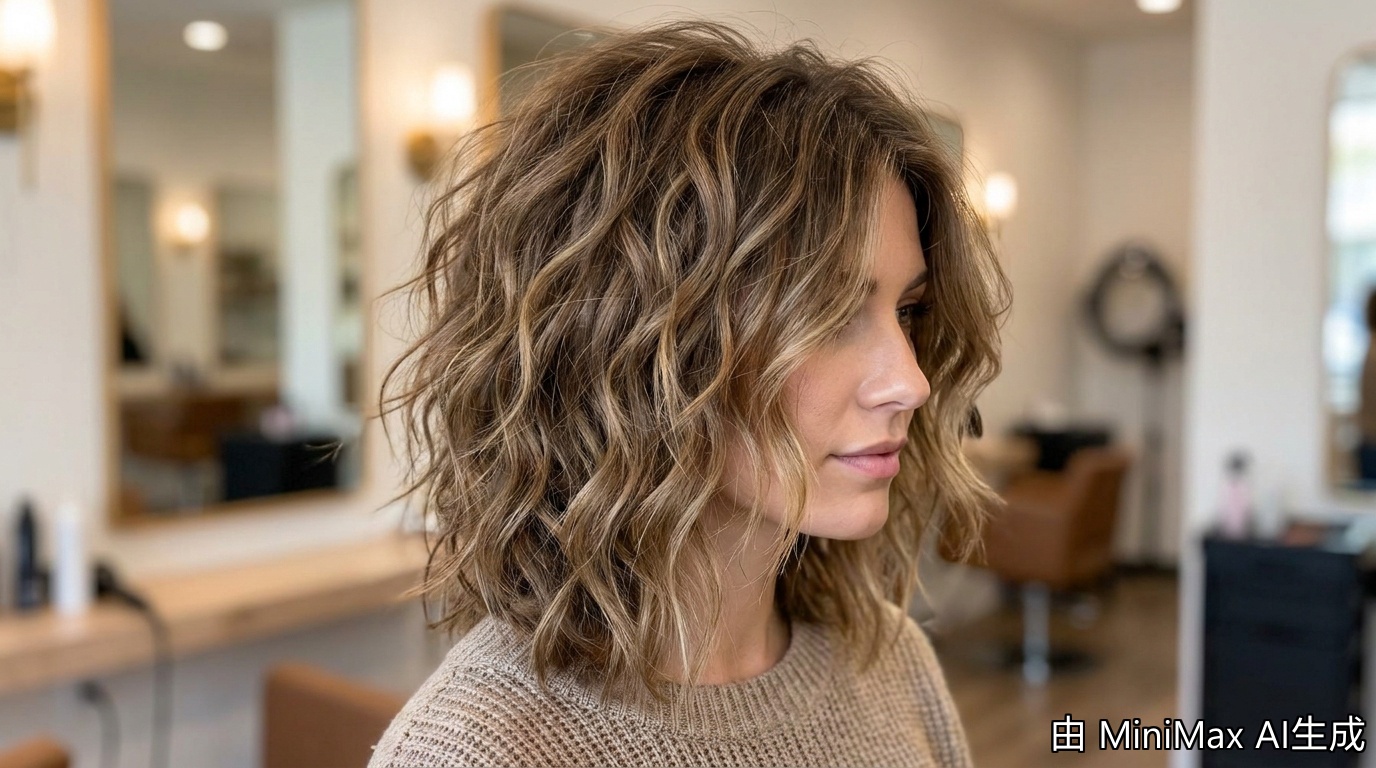
The modern shag is built on three or more distinct layer lengths, with feathered ends and a soft crown. A hair crimper adds the kind of dimensional texture that makes each layer read as its own shape rather than blending into a single mass. The crimped pattern creates micro-bends along the strand that catch light differently and add visible volume at the roots, exactly what a shag needs to look "lived in" instead of "fresh out of a salon blowout."
What makes the shag different from a layered cut is the deliberate irregularity. A traditional layered cut has graduated lengths, but a shag uses shorter, choppier pieces around the crown and face with longer pieces in the back. Crimping each layer with the right plate size amplifies that built-in texture.

Match the Crimper to the Layer
The single biggest mistake people make when crimping a shag is using one plate size for the whole head. The long bottom layers of a shag need a wider plate to create a soft S-wave, while the short crown and face-framing pieces need a micro plate to grip cleanly without flattening.
- Bottom layers (longer than shoulder) — Use the FIFN L01 25mm crimper. The wider plate covers more area per pass and creates a soft, even wave that holds the weight of the longest layers.
- Middle layers (shoulder to chin) — Use the L01 again, but with shorter clamp times. The middle section is the most forgiving.
- Crown, top, and face-framing pieces — Switch to the FIFN L05 Mini 9mm crimper. The narrow plates grip the short, choppy layers without flattening the volume you are trying to build.
- Bangs or micro-fringe — Use the L05 on a low heat setting with a 1-second clamp for a soft bend rather than a hard crimp.
5-Step Crimping Routine for Shag Hair
The trick to crimping a shag is working in the right order, with the right plate size for each section. Here is the routine stylists use for a modern, lived-in finish.
- Section the hair into three layers — Clip the top half (crown and face-framing) out of the way, then split the bottom into left and right halves. The short top layer stays clipped until last. (Time: 2 minutes)
- Crimp the bottom layer with the L01 — Working in 1-inch sections, clamp the 25mm plates at the root for 3 seconds, then move down 1 inch and clamp again until you reach just above the ends. Skip the last 2 inches for a natural finish. (Time: 8–10 minutes)
- Crimp the middle layer with the L01 — Use shorter clamp times (2 seconds) since the middle section crimps faster. Same skip-the-ends technique. (Time: 5–7 minutes)
- Switch to the L05 for the crown and face-framing pieces — The 9mm plates grip short, choppy pieces without flattening them. Clamp for 1–2 seconds per section, working in the direction the cut falls. (Time: 4–5 minutes)
- Finish with the M01 to blend the layers — One light, no-pressure pass of the M01 flat iron over the whole head softens the wave-to-wave transitions and merges the layers into a single, cohesive shape. (Time: 3 minutes)

Temperature by Hair Type
Shag haircuts often have a mix of textures — thicker, more porous ends and finer, newer growth at the crown. Use the table below to match the heat to each section rather than running the whole head on one temperature.
| Hair Type | Bottom Layer | Middle Layer | Crown / Face-Frame |
|---|---|---|---|
| Fine | 170°C / 338°F | 160°C / 320°F | 150°C / 302°F |
| Medium | 180°C / 356°F | 175°C / 347°F | 165°C / 329°F |
| Thick / coarse | 195°C / 383°F | 190°C / 374°F | 180°C / 356°F |
| Color-treated | 150°C / 302°F | 145°C / 293°F | 140°C / 284°F |
FIFN Crimper Comparison
Three FIFN tools cover every shag-section need. The L01 handles the bulk of the work, the L05 covers the short pieces, and the M01 blends the layers at the end.
| Feature | L01 Crimper | M01 Straightener | L05 Mini |
|---|---|---|---|
| Best for | Long layers, root volume | Blending, sleek finish | Crown, bangs, short layers |
| Plate size | 25mm corrugated | 25mm smooth | 9mm corrugated |
| Max temp | 200°C / 392°F | 230°C / 446°F | 200°C / 392°F |
| Heat-up | 60 seconds | 30 seconds | 60 seconds |
| Price | $39.99 | $36.99 | $29.99 |

Do's and Don'ts
| ✅ Do | ❌ Don't |
|---|---|
| Section into 3 distinct layers before crimping | Crimp all hair at once with one plate size |
| Switch tools when you change layers | Use the L01 on face-framing pieces |
| Lower temp on the crown and face-frame | Run 200°C on the top layer |
| Crimp in the direction the cut falls | Crimp against the cut direction |
| Let each layer cool before releasing | Comb through hot layers |
5 Pro Tips for Crimping a Shag
- Always start with the bottom layer. It takes the longest and has the most heat tolerance. Working bottom-up means you can drop the temperature for the more delicate top layers.
- Skip crimping the very top 2–3cm of the crown. Crimping too close to the roots creates "triangle head" — flat crown with crimped sides. Either leave the crown smooth or crimp lightly with the L05.
- Alternate wave direction on face-framing pieces. Crimp the left side forward, the right side backward for a windblown, lived-in look.
- Use the M01 to blend the layers after crimping. One light pass with no clamp pressure softens the wave-to-wave transitions and merges the layers.
- Wait 24–48 hours after a haircut before crimping. Crimping freshly-cut layered hair on day one often creates uneven texture because the new ends haven't settled.
Why a Two-Plate System Works for Shags
Most crimping tutorials use one tool for the whole head. That works for one-length hair, but a shag has at least three distinct layer lengths, and each needs a different plate size. The L01 (25mm) covers the long layers that hold the bulk of the weight, while the L05 (9mm) handles the short, choppy pieces around the crown and face. The M01 flat iron at the end blends everything into a single, cohesive shape. This three-tool approach cuts total styling time by 30–40% because you stop fighting the wrong plate size on each section.
Build Your Shag Crimping Kit
L01 25mm Crimper ($39.99) · M01 Straightener ($36.99) · L05 Mini Crimper ($29.99)
Frequently Asked Questions
Q1: Can I use a 25mm crimper on short shag layers?
For layers that end above the chin, a 25mm crimper struggles to clamp cleanly and you'll get a flat spot instead of a wave. Switch to the FIFN L05 Mini 9mm crimper for any layer shorter than 15cm.
Q2: How long does it take to crimp a shag haircut?
Expect 18–25 minutes for a full head of shag hair with the L01 + L05 + M01 system, including sectioning. Shag hair takes longer than one-length hair because each layer is a separate pass. The trade-off is a more polished, lived-in result.
Q3: Should I crimp each layer in the same direction or alternate?
Alternate the wave direction between layers for a natural, lived-in look. All-forward waves read as "styled"; alternating waves read as "natural texture." On face-framing pieces, crimp away from the face on both sides so the waves frame your features.
Q4: Will crimping damage my shag's freshly-cut ends?
The freshly-cut ends aren't more vulnerable, but crimping without heat protectant can rough up the new cuticle. Wait 24–48 hours after a cut, then use a color-safe thermal protectant at 150–165°C on the very ends.
Q5: Can the M01 flat iron crimp shag hair as well as the L01?
With a twisting technique, the M01 can create a waved effect, but the L01's corrugated plates produce a more uniform, voluminous crimp in 2–3 seconds per section. Use the M01 for blending, the L01 for the actual crimp work.
More crimping guides on fifn.cc · See the FIFN tool lineup · Read the FIFN hair crimper blog for more texture tutorials.
Crimped Hair Office Styles 2026: 10 Polished Professional Looks
Hair Crimper for Headshot Day 2026: LinkedIn Volume
Related Posts

Hair Crimper Y2K 2026: Step-by-Step Throwback Tutorial

Boho Crimped Hair for Outdoor Weekends: Soft Texture Guide

Hair Crimper for Bedhead Waves 2026: Texture Guide

Hair Crimper for Long-Layered Hair 2026

Hair Crimper for Teachers: Soft Root Volume Guide

Hair Crimper for High School Reunion 2026

Hair Crimper for Choir Performances: Stage-Ready Volume Guide


